Thanks to innovation, a better, healthier, and safer approach to swimming pool maintenance is available with the POOL FROG system.
The Pool Frog System 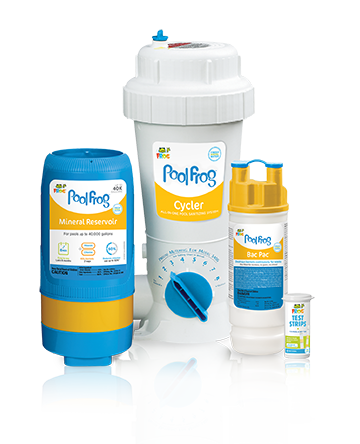
The POOL FROG System requires three parts to function and provide clean mineral water for your pool.
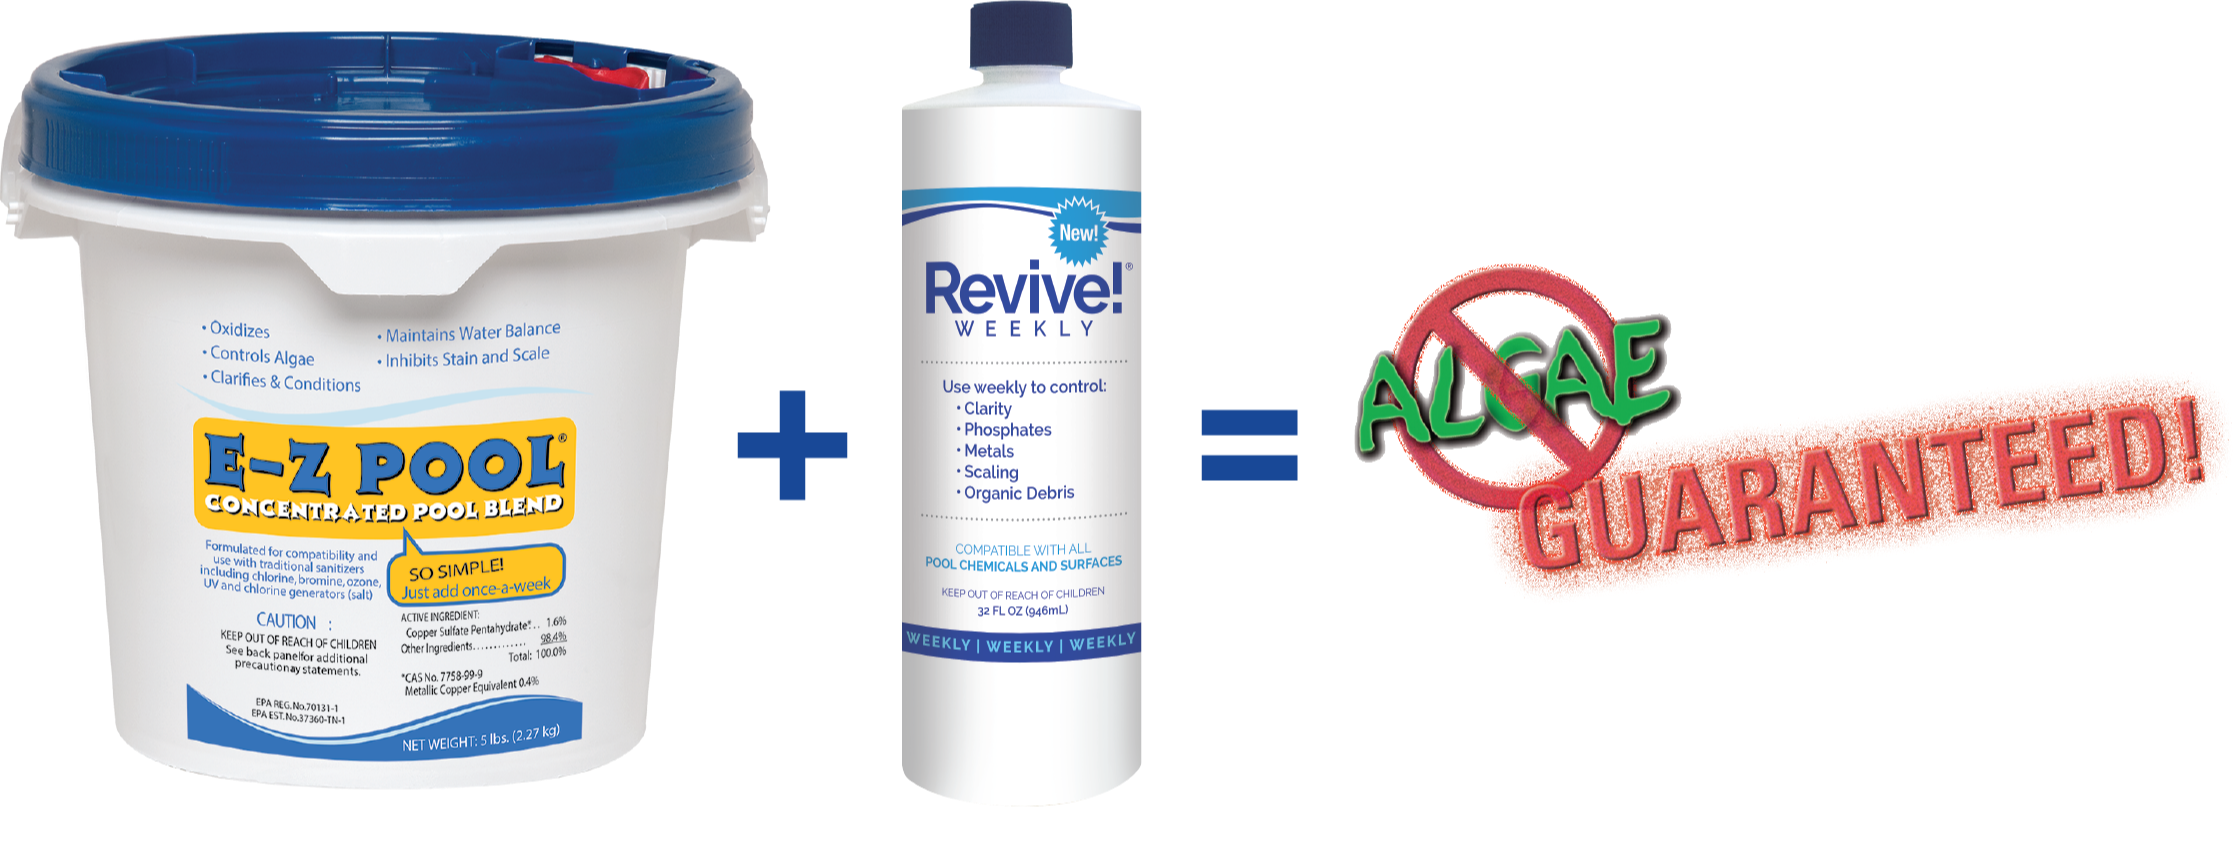
The Pool Frog Cycler and Mineral Reservoir can be purchased together or separately, such as replacement mineral reservoirs from season to season. The third required component is the Pool Frog pre-filled Bac Pacs. These are the sanitizing portions of the system and contain 2-3 weeks worth of chlorine; 3+ weeks when combined with E-Z Pool treatment (which also replaces the need for any other chemicals needing to be added to your pool). If you haven't read about the combined benefits of pairing these two products, you can learn more time and money-saving benefits here.
Pool Frog System Start-Up Tips
The Pool Frog Cycler is installed after your pump and filter, which makes this an easy item to add on to existing pools, as well. The video below will walk you through step by step how to install your Pool Frog. We've also written out the steps below, as well.
Before You Begin Installing Pool Frog on an Existing Pool
Always refer to the instruction manual that came with your Pool Frog unit first. The information in this guide is meant to assist the product manual and does not supersede the information in the product manual.
First, if you are installing a Pool Frog system onto an existing pool, you'll need to prepare your pool to have a disconnected hose, so you don't lose a great deal of pool water into your yard. To do this, start by turning off your circulation system either at your pump or pump timer.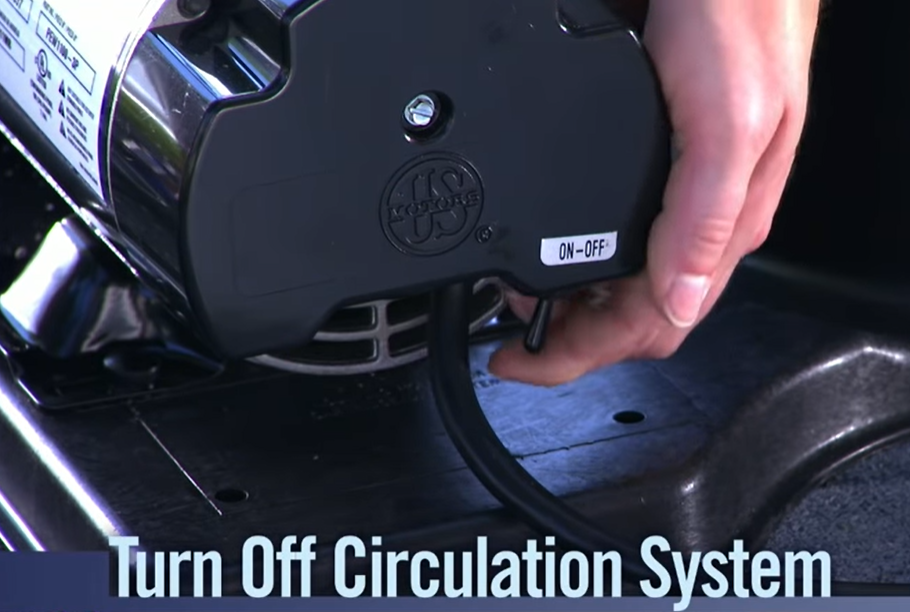
If you have isolation valves, now would be the time to also turn those off. If you do not have isolation valves, the easiest way to prevent excess water loss is to block the skimmer by pushing a rag deep inside (but make sure you can still get it back out). You'll also want to block the return fitting, by unscrewing the fitting from the inside of the pool wall, covering the end with plastic and replacing the fitting.

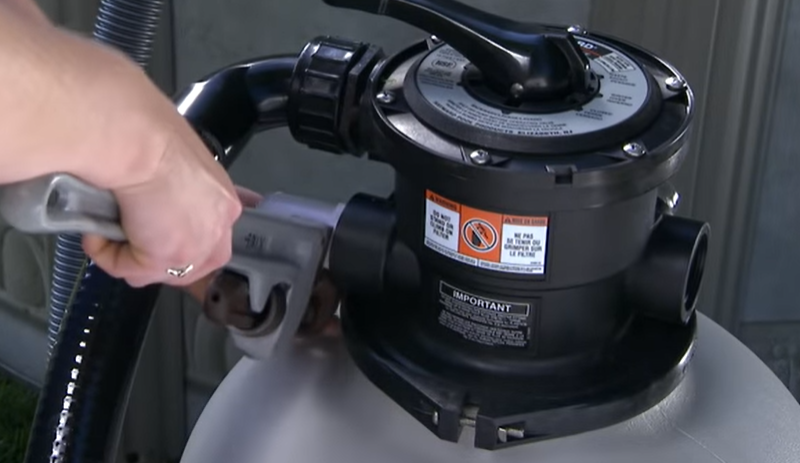
Find the hose going from your pool to the filter. Remove the end of the hose that is connected to the filter by unscrewing the hose clamp, holding it to the male adaptor hose fitting.
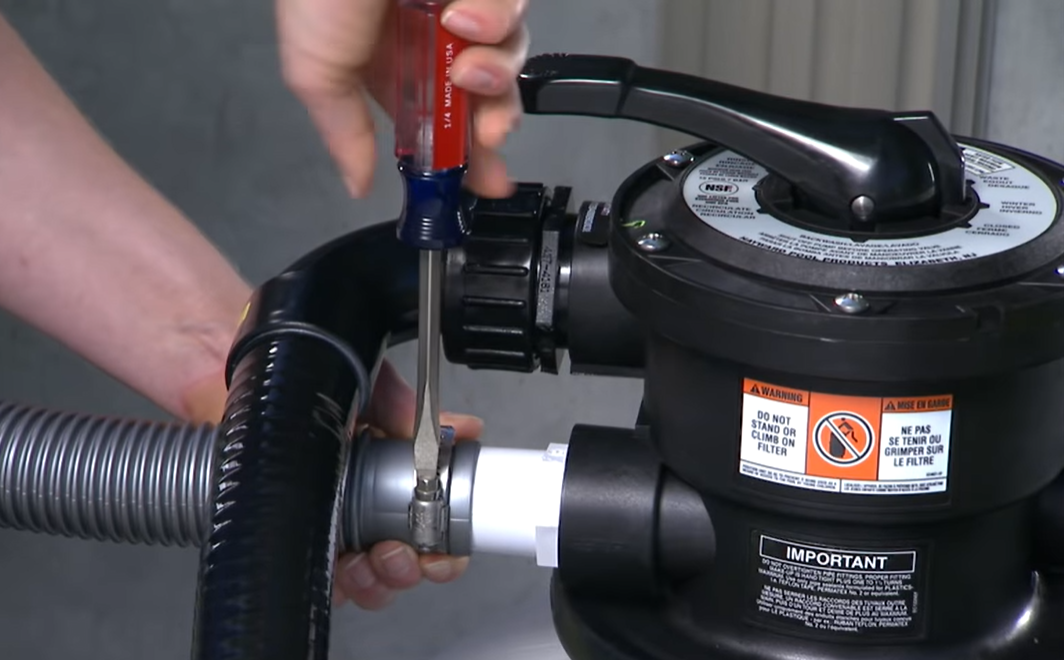
Unscrew the male adaptor hose fitting from the filter's outlet port with a pipe wrench.
Continue with the below installation steps, which start the installation process for new pools as well.
Installing Your Pool Frog System
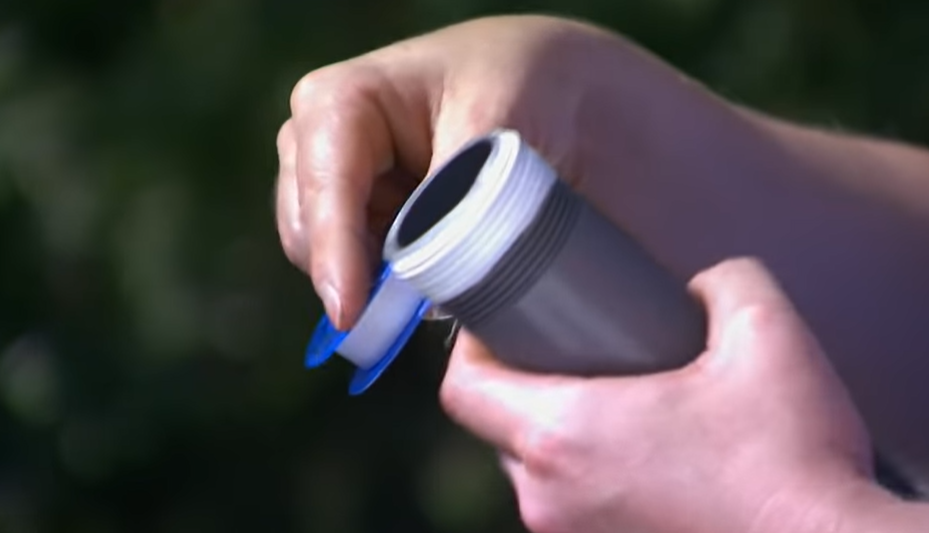
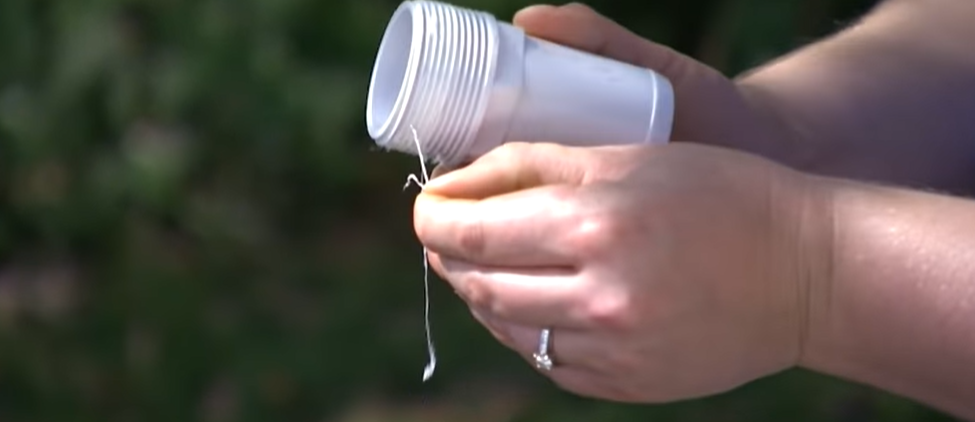
Step 1. Take the 6" Nipple included with your Frog System and apply Teflon tape to both ends by wrapping the tape around the threads 3-4 times. Both of these items should have come with your Pool Frog Cycler.
Step 2. Thread one end of the Nipple into the Pool Frog system. Stop when it feels snug. Use a pipe wrench to finish tightening, but do not overtighten.
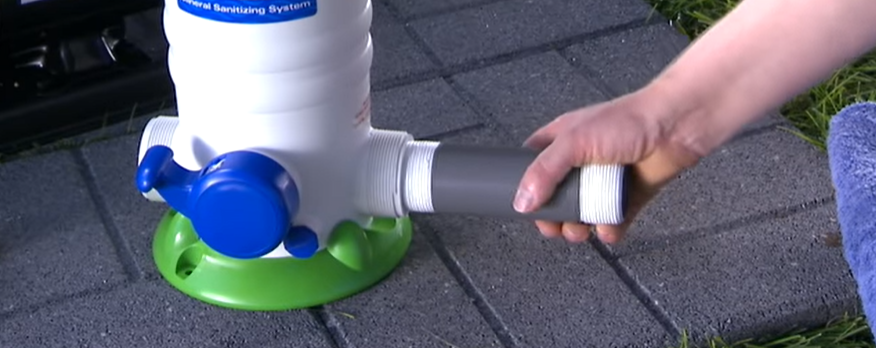
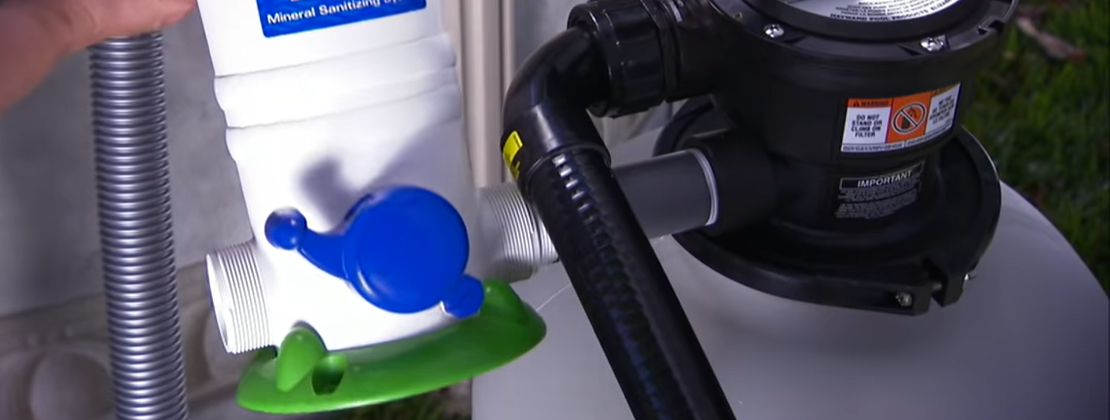
Step 3. Thread the Pool Frog System with the newly attached Nipple into the outlet port of the filter until the system is upright and secure. Again, use a pipe wrench to finish tightening, but do not overtighten.
NOTE: In most cases, the Pool Frog system will clear the sides of the filter as you thread it into the outlet port. If not, see your filter manual for removing the multiport valve in order to finish threading the Pool Frog cycler onto the outlet port.
You also do not have to worry about attaching a certain side of the Pool Frog to the filter versus the hose. The Pool Frog system is designed to work the same regardless of which side of the Frog unit you attach each item to.
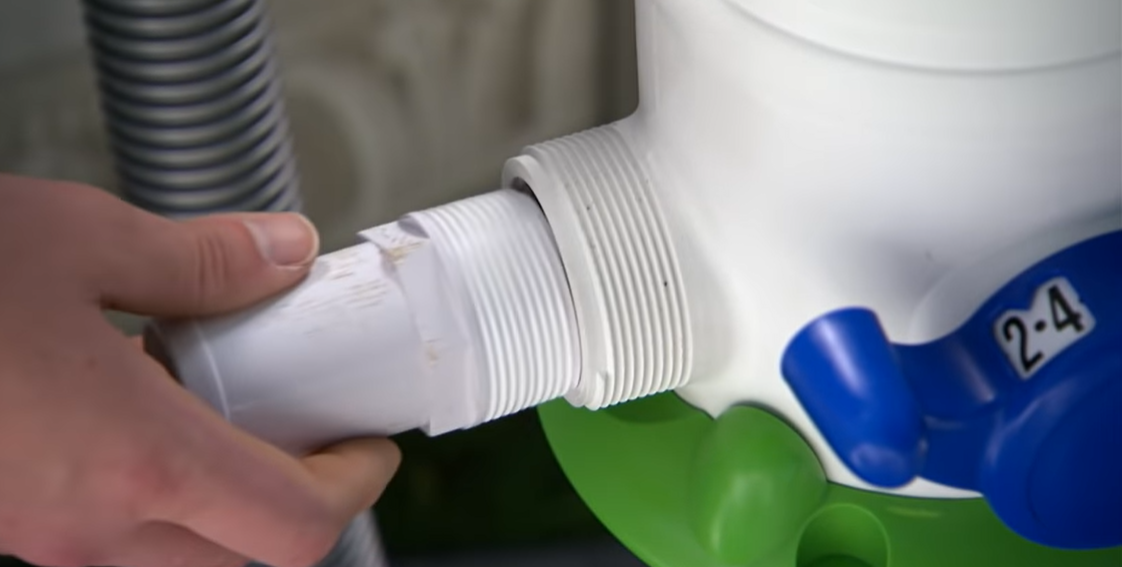
Step 4. Next, take the hose fitting you removed from the filter port, and clean off any excess glue or tape.
Step 5. Retape the end of that fitting, and thread it into the open end of the Pool Frog Cycler.
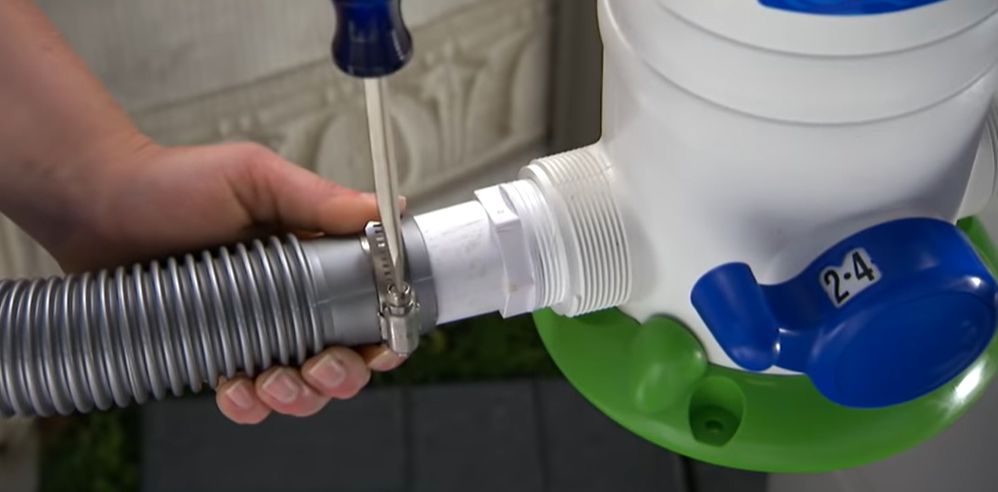
Step 6. Attach the hose with the hose clamp, and use a screwdriver to tighten the clamp.
NOTE: This is the time to reopen your isolation valves if you had them closed. Or remove the rag previously placed in your skimmer as well as the plastic from your return fitting.
Also, make sure to keep 12-15" above your Pool Frog cycler to easily remove the top cap, and replace Mineral Reservoirs and Bac Pacs as needed.

NOTE: Do NOT install in copper pipe if using POOL FROG Bac Pac as chemical corrosion could lead to pipe failure.
Preparing the Pool
Treat pool water with REVIVE! (32 oz per 24k gallons) to remove phosphates, metals, debris.
Once debris completely settles (typically 24 hours), vacuum your pool bottom, thoroughly clean the pool filter, then balance the pool's water.
Add E-Z POOL to pool water according to dosage chart found on pail, preferably near a return jet.
Test your pool water using your Pool Frog test strips. You can compare the results using your Pool Frog App or the color coding on the test bottle.
The goal in testing your water is to see what you need to do, to balance your water.
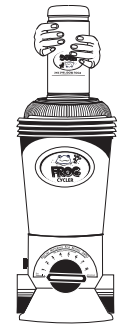
To prepare your Pool Frog for use, the Mineral Reservoir is inserted into the cycler. See How to Replace Mineral Reservoir below for installation instructions.

Replace cap and run POOL FROG Cycler, with POOL FROG Mineral Reservoir inserted, for 10 minutes on Setting Maximum.
When chlorine reading is down to 1.0 ppm, which may take a few days, turn off the pump and turn the control dial to Pac Removal.
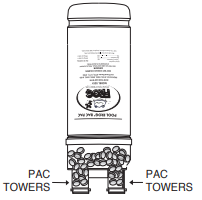
Remove the colored caps (pliers work best), turn the Bac Pac upside down, and give it a bit of shake until the chlorine tablets within fall into the Bac Pac towers.
Line up the small leg of the POOL FROG Bac Pac with the small opening in the POOL FROG Mineral Reservoir and the large leg with the large opening. Lower POOL FROG Bac Pac into POOL FROG Mineral Reservoir until secure.
Replace cap by hand only. DO NOT OVER TIGHTEN. DO NOT USE CAP TOOL TO TIGHTEN CAP. Use for removal only.
Mark your calendar ahead for the approximate replacement times for the POOL FROG Bac Pac. If using E-Z POOL, this will be at least 3 weeks.
Insert POOL FROG Bac Pac into the open center of the POOL FROG Mineral Reservoir.
How To Set Your Control Dial
Your Pool Frog Mineral Reservoir has a controlled release mechanism, therefore the control dial on the cycler does not affect the mineral output since water flows through the minerals at all settings. Your control dial adjusts the chlorine level to maintain 0.5-1.0 parts per million.
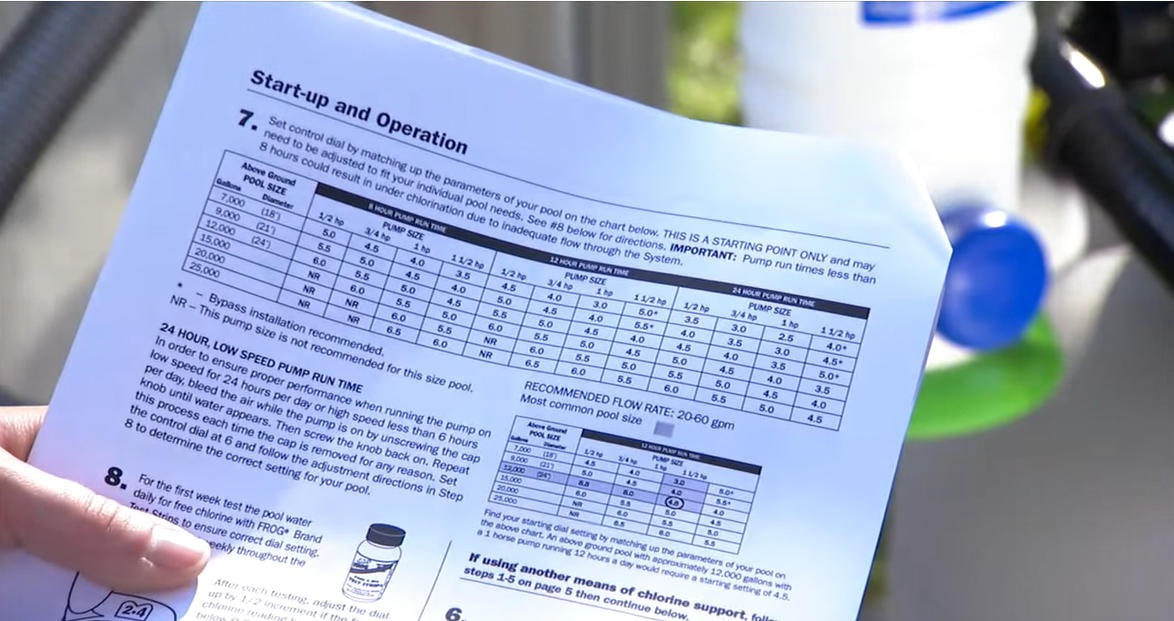
To find your best starting point, use the chart in your manual by lining your pump size and horsepower (Hp) with the number of hours your pump runs per day and the size of your pool. Then set the control dial to the number that lines up with those three variables. Wait 24 hours and test the water.
- If the chlorine level dropped below 0.5 per million, turn the dial up one-half setting and wait another 24 hours.
- If the chlorine level goes above 1 part per million, turn the dial down one-half setting and wait another 24 hours.
Finding the right setting for your pool will take about a week of testing and adjusting until the chlorine level stabilizes between 0.5-1.0 parts per million.
If anything changes like a new pump with greater or less Hp, more swimmers on a daily basis, or adding special features attached to the return jet, you may need to readjust your Pool Frog setting.
During the heat of Summer, it is recommended that you turn the dial-up 1/2 a setting for every 10 degrees Fahrenheit change in temperature. Remember to lower the setting again when the weather turns cooler
For occasional changes, like a pool party or a lot of rain, that's the time for shocking the pool. If you're not a fan of working with large chlorine levels, such as shock or just want a safer/easier way to achieve the same effect, we strongly recommend E-Z Pool and/or REVIVE! depending on how much need your pool is in. E-Z Pool can act as a shock replacement while REVIVE! is great for opening pools after the winter season or for pools that have been a bit neglected.
How To Replace Mineral Reservoir
The Mineral Reservoir must be replaced at the end of each pool season or every six months. Follow these steps to replace your Mineral Reservoir.
Step 1: Check the label on the box and the product to confirm if you have the proper POOL FROG Mineral Reservoir that fits into your POOL FROG Cycler. Remove the POOL FROG Mineral Reservoir from the box and read the information card provided. All the information you need to insert and replace the POOL FROG Mineral Reservoir is also contained in the instruction manual that came with your unit.
Step 2: Ensure you use only the recommended replacement POOL FROG Mineral Reservoir, POOL FROG Bac Pac, and FROG BAM. Avoid using similar products or chemical tablets in the POOL FROG Cycler. Mixing other products with Pool Frog products may result in a fire explosion and other hazards which the POOL FROG System warranty will not cover.
Step 3:Turn off the pump and ensure the Pool Frog Cycler control dial is set to "Pac Removal".
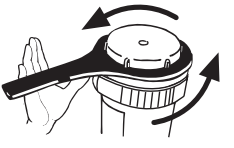 Step 4: Open POOL FROG Cycler Cap. Use the cap tool included with POOL FROG Cycler to loosen cycler cap by hitting the handle with the flat of your hand counter clockwise.
Step 5: Remove the POOL FROG Bac Pac and if not empty, set to the side or store for winter. Then remove the POOL FROG Mineral Reservoir and discard if it has been used for one pool season or 6 months, whichever is shorter.
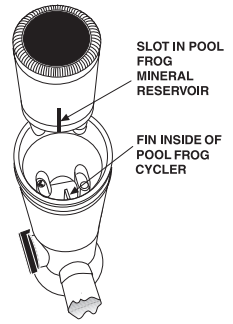 Step 6:Find slot on side of POOL FROG Mineral Reservoir and line up with fin inside the POOL FROG Cycler. Lower POOL FROG Mineral Reservoir into POOL FROG Cycler until secure. Replace the POOL
FROG Bac Pac inside the POOL FROG Mineral Reservoir to continue operating system.
Mark your calendar ahead for the six month replacement of the POOL FROG Mineral Reservoir. Once wetted, the time-released mineral coating of this product is effective up to 6 consecutive months or one pool season, whichever is shorter. After that time, you will hear the spent media inside, however, it is no longer effective and must be replaced.
Conclusion
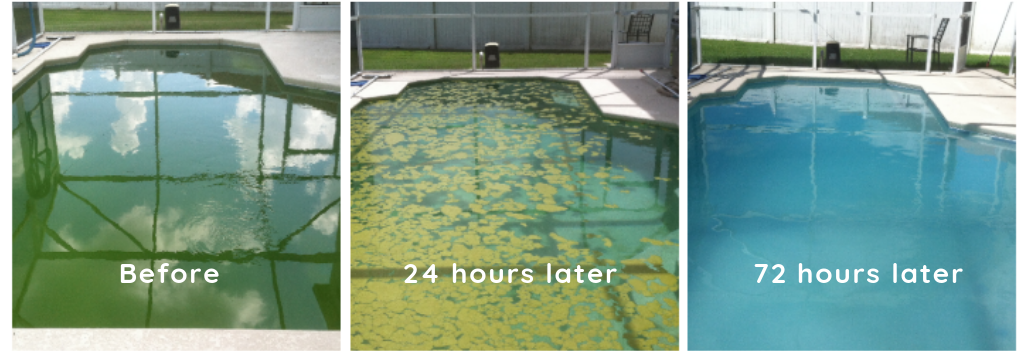
The POOL FROG system is a hassle-free, healthier way to keep your pool treated and protected against contaminants. When you use the POOL FROG System to treat your swimming pool, the results are clean water that's gentle on the skin, hair, eyes, and bacteria-free pool. POOL FROG makes your swimming pool feel like a natural, fresh spring rather than a chemically treated swimming pool. If you're using the traditional methodologies of treating your swimming pool, you might want to try this better, proven alternative with Pool Frog.


We hope you've found this guide helpful! If you still have questions or want to learn more, check out our other salt blogs below or give us a call at 866-532-8194.