

The diagrams below are meant to be general examples of how you can route your swimming pool’s plumbing and set up your equipment pad. Your exact layout may vary depending on pool size, pool shape, equipment selection, site conditions, and local code requirements.
If you have questions, you can leave them in the comment section below or contact our team.
Quick Answer: How Should Pool Plumbing Be Routed?
Pool plumbing routes water from the pool through the skimmer and main drain lines to the pump and filter, then sends filtered water back to the pool through the return lines. The exact setup depends on the number of skimmers, main drains, returns, equipment items, and plumbing runs. The diagrams below are general examples, and your final plumbing layout should be confirmed with your pool builder, plumber, or installer.
Good To Know
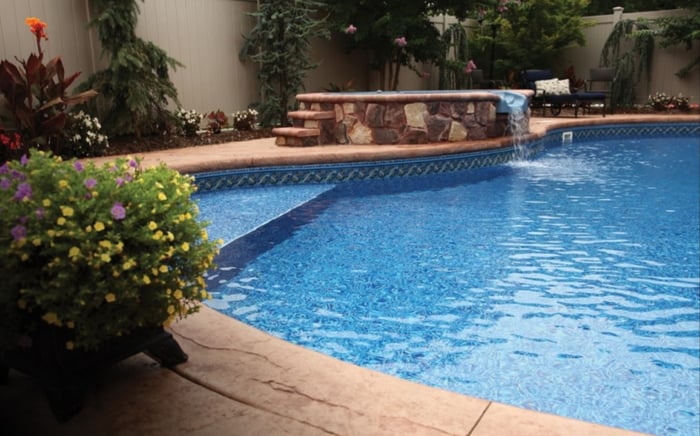
Skimmer and return locations should be placed intentionally. For example, if you have prevailing winds that typically come from one side of your yard, you may want to place the skimmers on the side that allows wind to help push surface water and debris toward the skimmer.
Returns, also called inlets, come with adjustable “eyeballs” so you can fine-tune the water direction after installation. This helps support better circulation and can reduce dead spots in the pool.
Main drain and suction outlet requirements can vary by pool type, location, and applicable code. Always use compliant drain covers, follow manufacturer instructions, and confirm the final layout with your pool builder or local code authority. See our article here for more information on why you need two main drains.
.png?width=600&name=main%20drain%20(2).png)
Common Pool Plumbing Terms
Before reviewing the diagrams, it helps to understand a few basic pool plumbing terms. These parts work together to move water from the pool to the equipment pad, through the filtration system, and back into the pool.
|
Term |
What It Means |
| Skimmer | Pulls surface water and debris into the filtration system |
| Main Drain | Draws water from the lower part of the pool |
| Return | Sends filtered water back into the pool |
| Suction Line | Carries water from the pool to the pump |
| Return Line | Carries filtered water from the equipment pad back to the pool |
| Equipment Pad | Area where the pump, filter, heater, sanitizer, and valves are installed |
Route Your Plumbing
The examples below show common ways to route pool plumbing based on the number of skimmers, main drains, and returns. These are general layouts only. Your actual plumbing plan may vary depending on pool size, equipment type, site conditions, and local requirements.
Example 1: 1 Skimmer, 2 Main Drains, and 2 Returns
.png?width=1732&name=RSP%20IMAGE%201%20(1).png)
Example 2: 1 Skimmer, 2 Main Drains, and 3 Returns
.png?width=1486&name=PW%20IMAGE%201%20(2).png)
Example 3: 2 Skimmers, 2 Main Drains, and 3 Returns
.png?width=1486&name=PW%20IMAGE%202%20(2).png)
Equipment Pads
Below is an example of how your pool’s filtration system could be set up. Depending on which equipment items you have, this setup will vary, but it should give you a good idea for moving forward.
.png?width=1732&name=RSP%20IMAGE%20%20(1).png)
Before finalizing your equipment pad location, consider:
- Space for the pump, filter, heater, sanitizer, and valves
- Access for service, filter cleaning, and equipment repairs
- Drainage around the pad
- Distance from the pool and plumbing runs
- Electrical and bonding requirements
- Room for future equipment upgrades
Keeping the equipment pad accessible is important. Even if you plan to hide the equipment with landscaping or an enclosure, make sure there is enough room to reach valves, clean the filter, service the pump, and access any future equipment.
Can't get enough? Here are some additional resources you may find useful.