
Although it's not a common occurrence, over your swimming pool's lifetime it is possible your step may crack. Luckily, repairing a cracked pool step is a fairly simple process, and one you can do on your own. Here, we break down the process of repairing cracks in pool steps, along with some useful photos of the process to help you along.
Materials Needed:
- a towel or hair dryer to dry the step completely (exercise caution with electrical usage near water)
- a scraper or putty knife
- a rotary stone bit
- 100-grit sandpaper
- fiberglass repair kit
- a dust mask (recommended, not required)
- masking tape
- epoxy paint, in the matching or desired color
- paint rollers for larger areas
- paint brushes to cut into smaller areas and edges
Step One: Remove Water
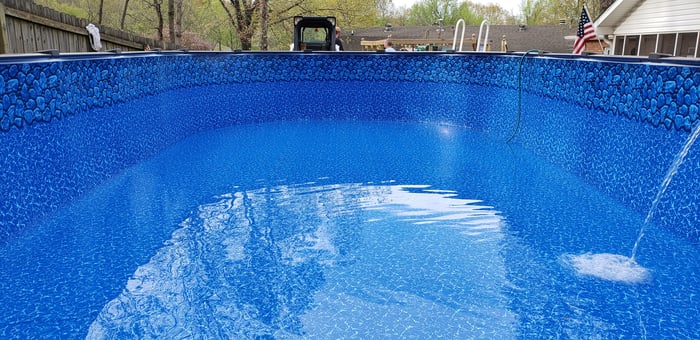
To repair your pool step you'll need your step to be clean and dry. This means draining your pool water at minimum to a level below the part that needs to be repaired. For best results we recommend doing step repairs when you are doing a liner replacement.
Note: Do not drain the pool completely unless you are doing a liner replacement. If you are not replacing your liner, only lower the water level far enough that you can make the repair.
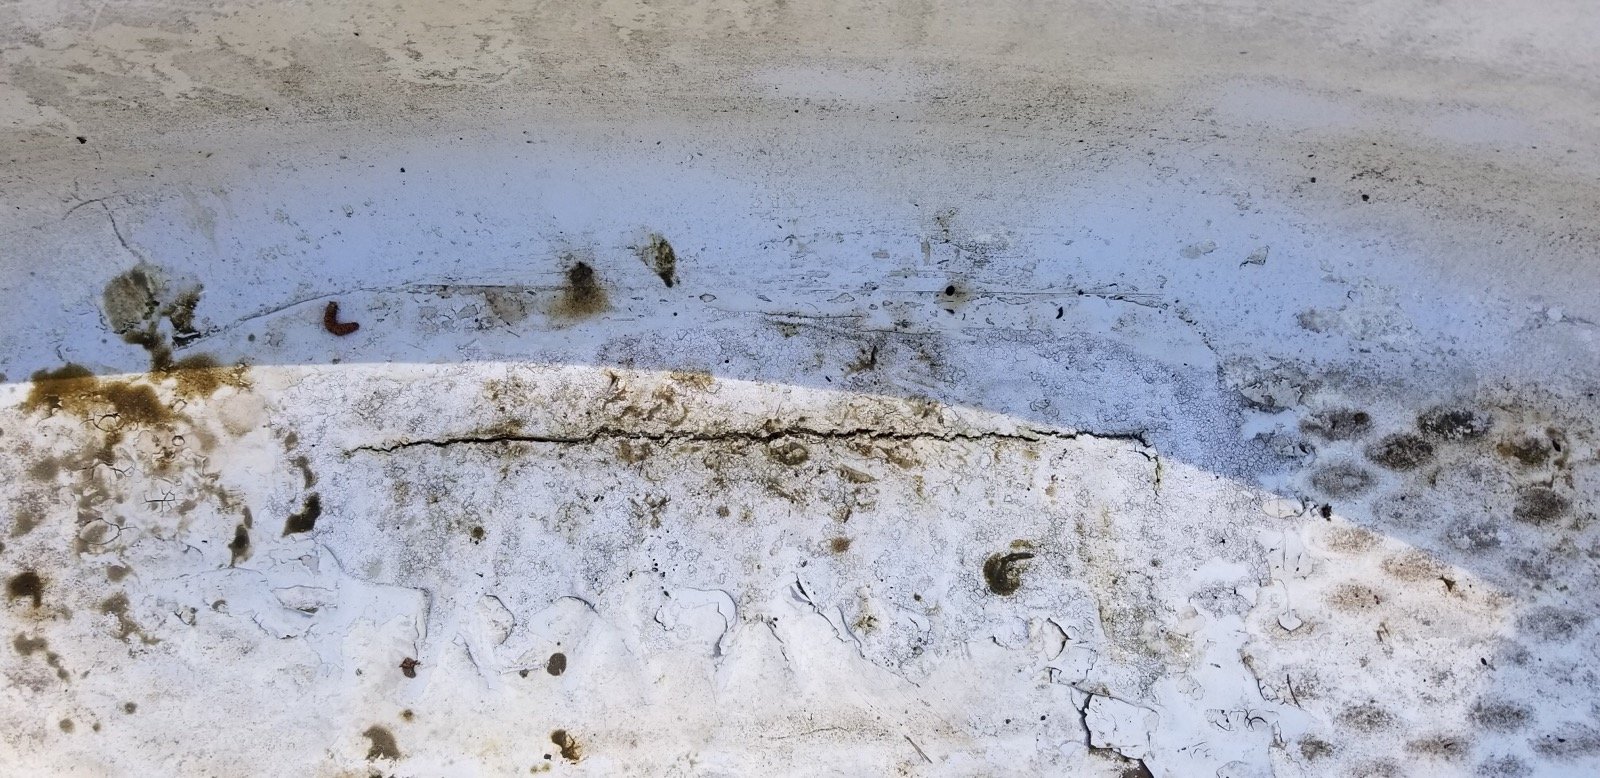
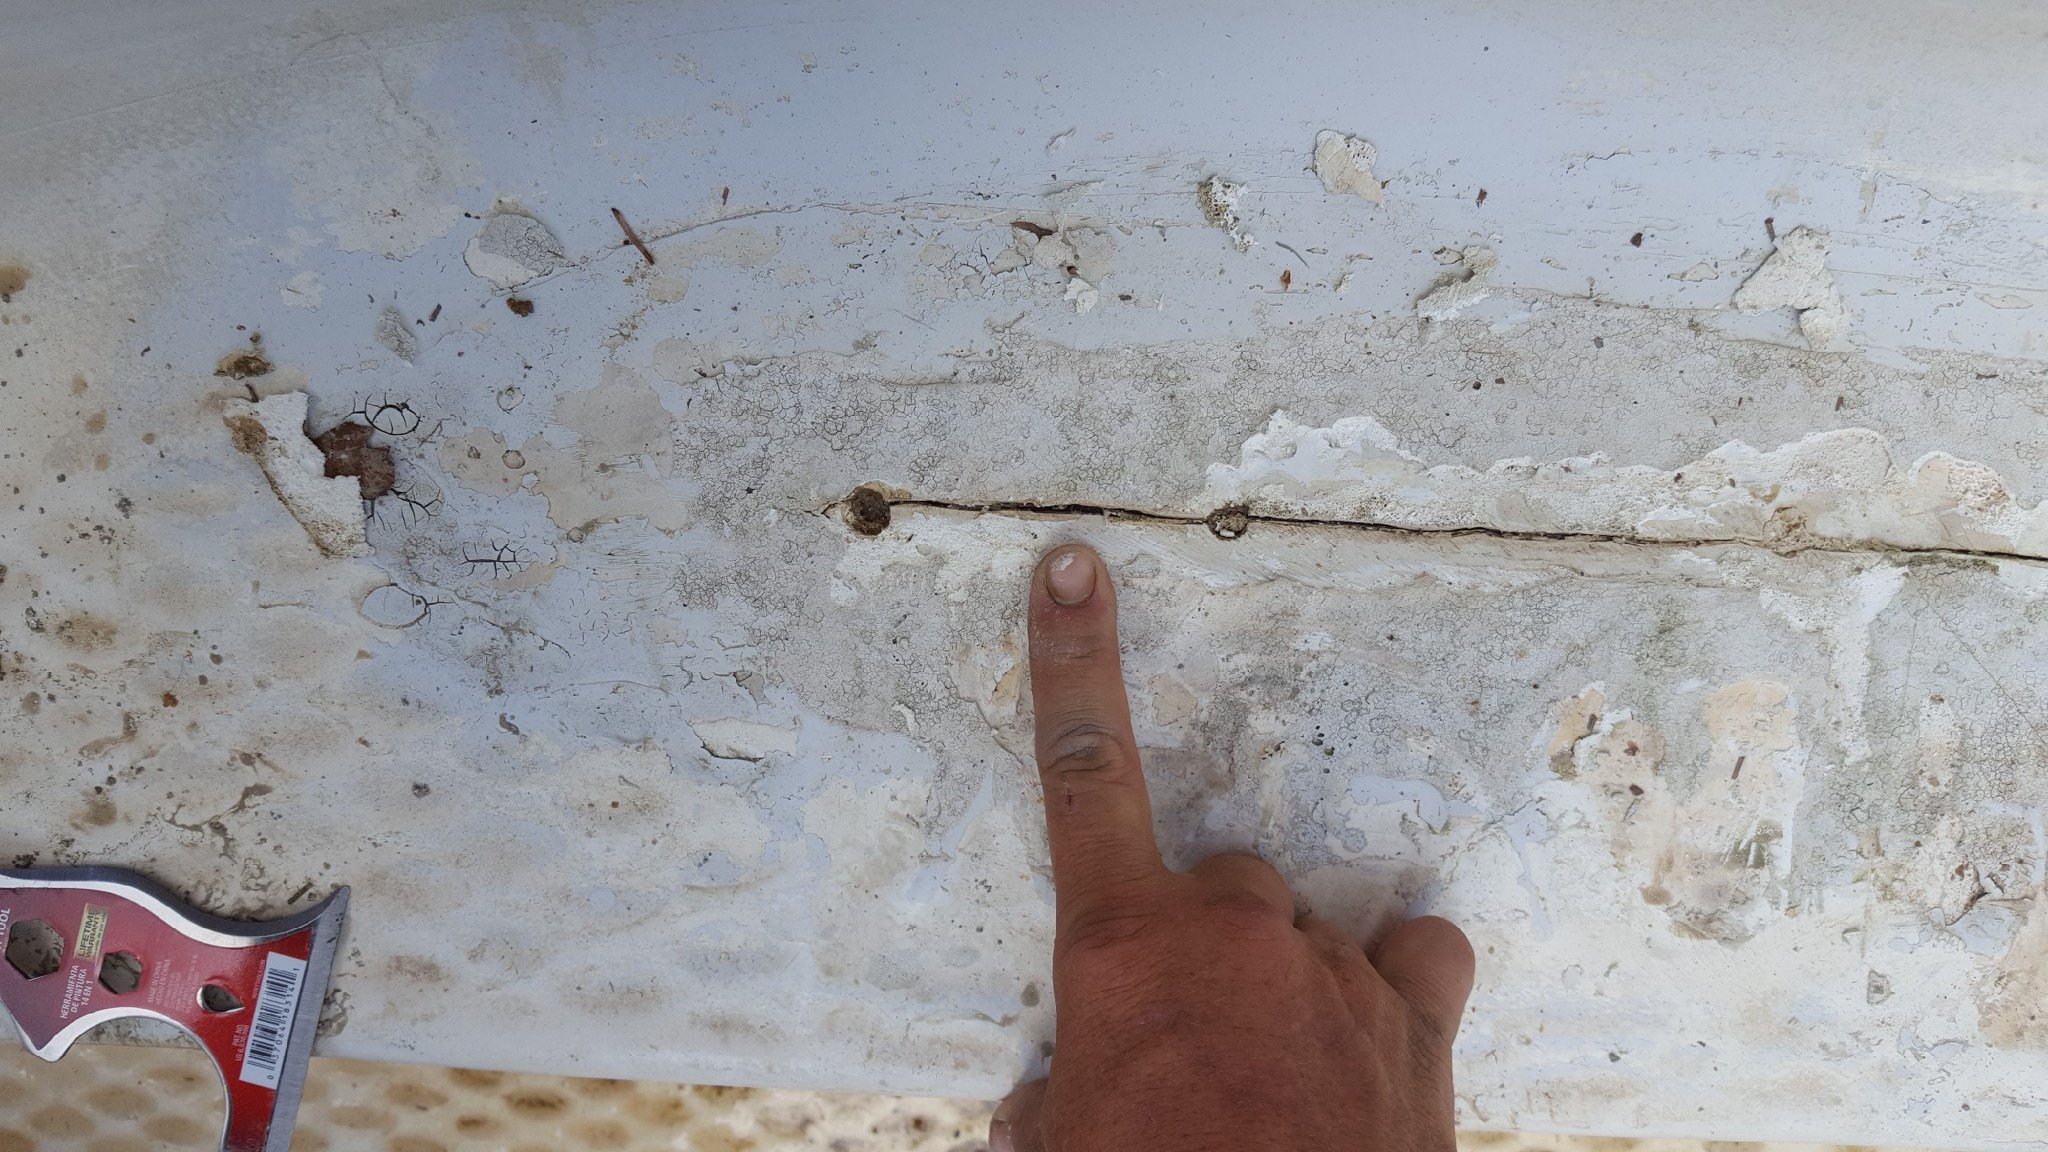
Step Two: Identify the Crack
In the photo below you will see the step has a crack which has been previously repaired, but is in need of a new repair.
Step Three: Clean and Prep
- First, dry the area to be repaired with a towel or hair dryer. It must be dry to the touch.
- Using a scraper or putty knife, clear off any major debris.
- Using a rotary stone bit, grind out the cracked area from end to end.
- Sand the area around the crack with 100-grit sandpaper until the fiberglass is dulled and the entire area around the crack is smooth and level.
- Clean the area again to remove any dust or leftover debris.
Step Four: Apply Fiberglass Repair Kit
Directions for how to apply your fiberglass repair kit may vary depending on the kit you use. Be sure to read and follow the instructions that come with your repair kit. In our example we are using a repair kit with a mesh patch to ensure a strong, solid repair.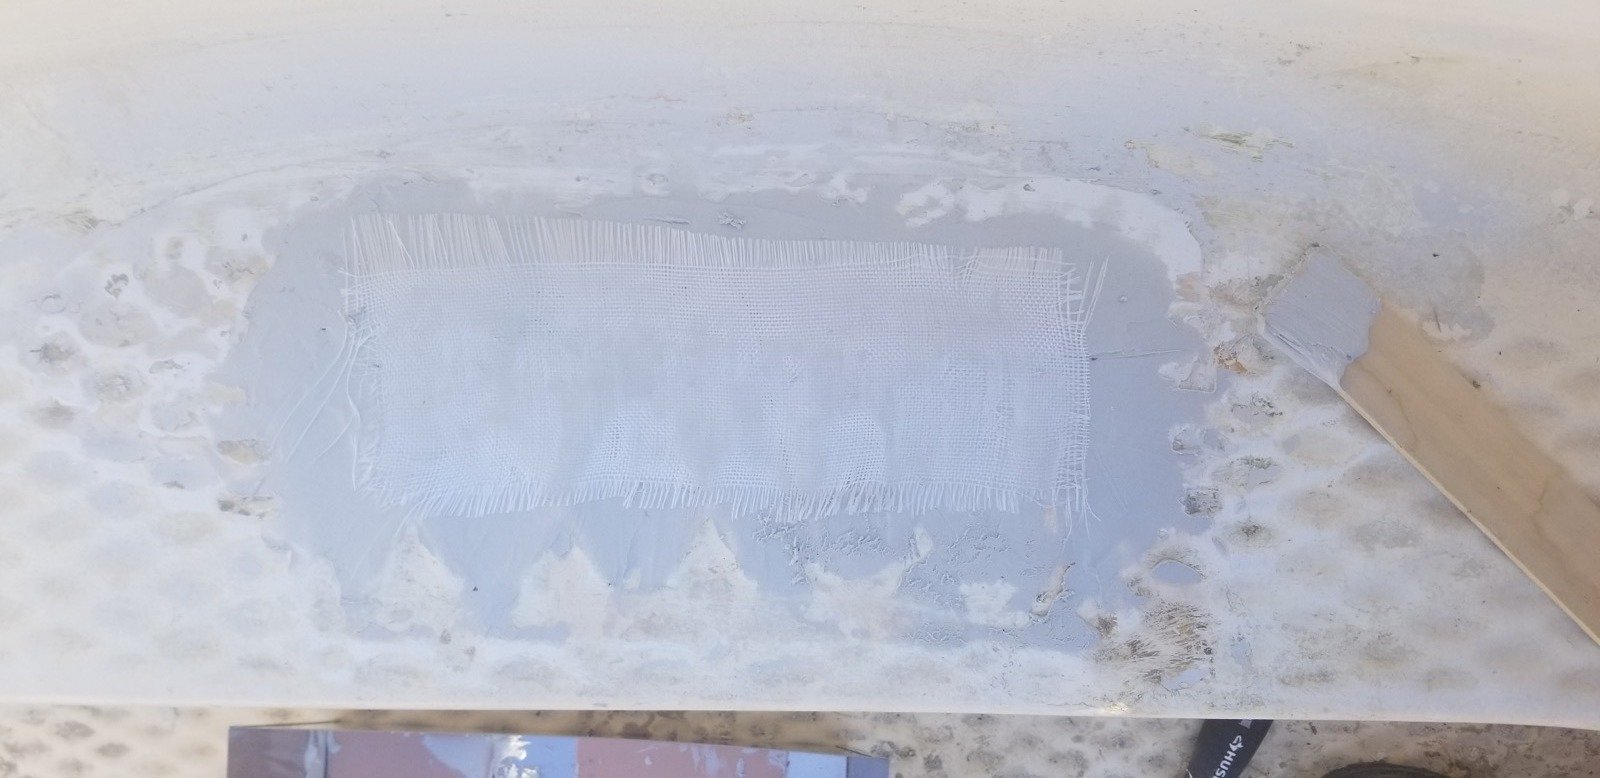
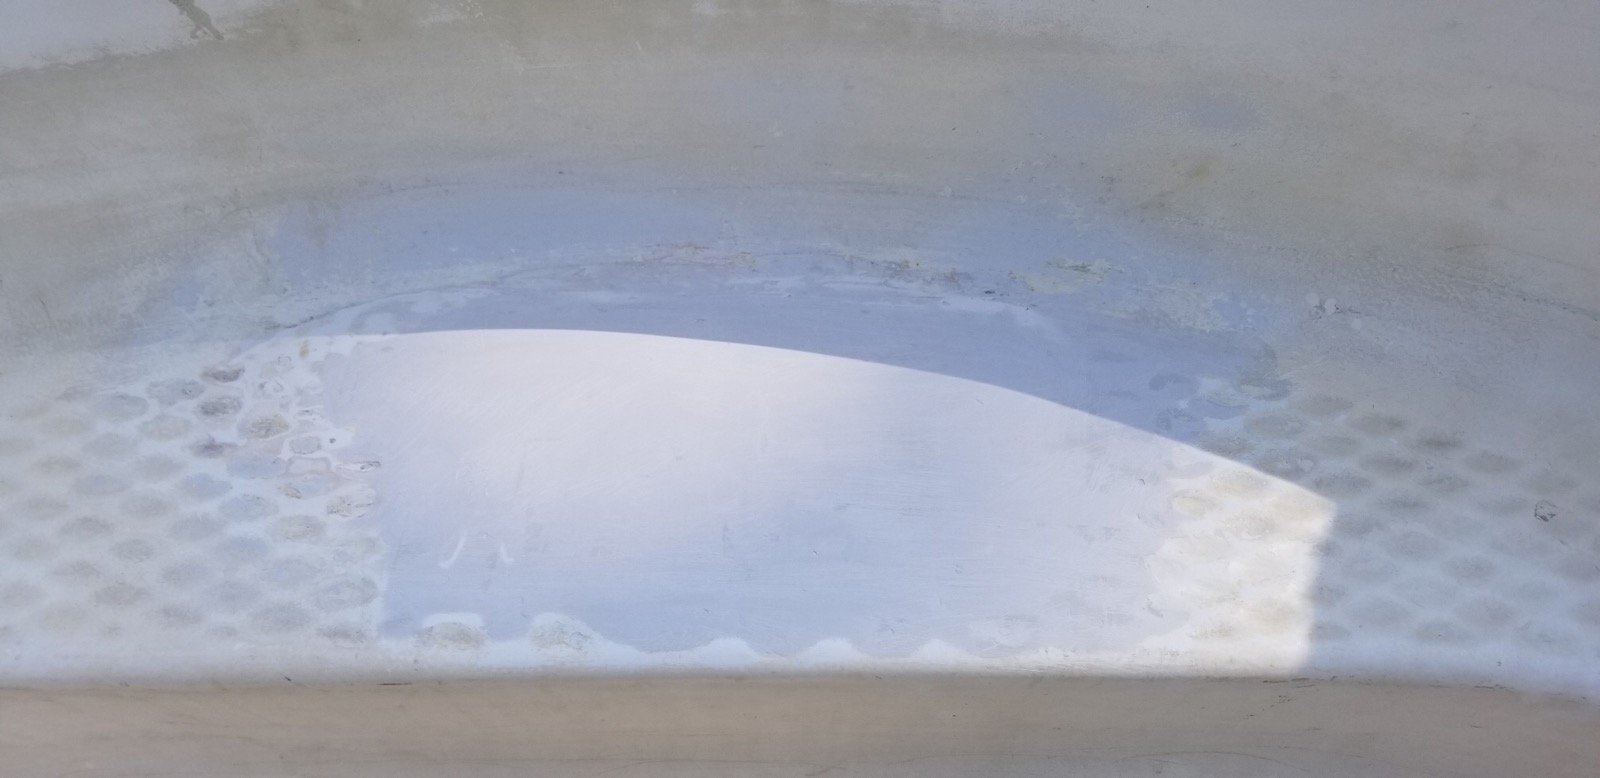
Step Five: Sand and Smooth
Once your fiberglass repair kit application has had ample time to cure and harden, sand and smooth the repair. A simple sheet of sandpaper should do the trick here, though we also recommend using a dust mask over your face so you don't breathe in any of the fiberglass dust while you work.
Once the repair is smooth to the touch and even with the level of the existing steps, you are done sanding.
Step Six: Recoat / Repaint
Once done sanding, wipe the entire area with a dry towel to remove dust, debris, and moisture. Use masking tape if you need to protect any coping or liner edges near where you will painting.
Using a paint roller, apply the epoxy paint evenly and use your paint brush to cut close to the edges. Allow the first coat to dry completely (4-8 hours on a clear day). Apply a second coat. Since your pool needs to be filled as quickly as possible if you are not replacing your liner at this time, it is best to apply both coats of paint on the same day.
Allow paint to dry completely. Review the recommended dry time on your paint can prior to refilling your pool, (can take 4-7 days depending on weather). Once you re-fill the pool, balance your pool water ASAP in order to protect the fresh paint on your step. TIP: The pH needs to be above 7.4, and make sure your alkalinity is above 100 ppm.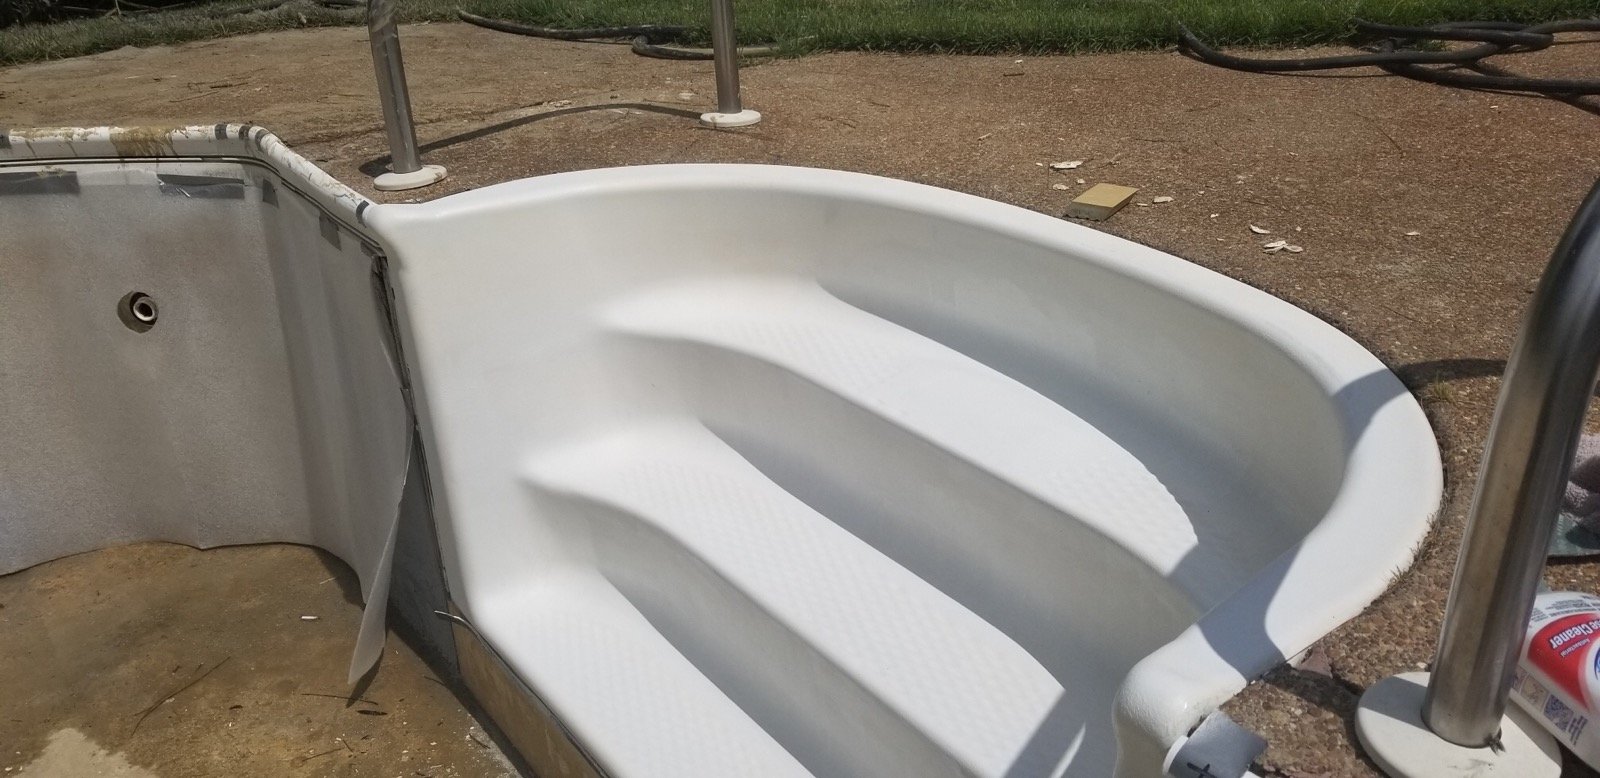
We hope you've found this helpful! If you have additional questions on this or anything else please check out our resource center here or drop us a comment below. Thank you!