Winterizing your pool is crucial to prevent damage during the cold months and ensure a smooth reopening in spring. Properly winterized pools are protected from freeze damage, algae growth, and other issues that can arise during winter. This process involves several steps, specific tools, and chemicals to keep your pool in top shape. For more tips, follow this pool opening supply buyers guide to learn other best practices for winterizing your pool effectively.

Necessary Supplies for Pool Winterization
- Winter Pool Covers: Essential for keeping debris out and preventing algae growth.
- Winterizing Chemical Kits: Typically include chlorine shock, algaecide, and pH balancers.
- Cleaning Equipment: Pool brushes, vacuum, and skimmers are necessary.
- Air Pillows: Used in above-ground pools to absorb ice expansion.
- Pool Antifreeze: Protects plumbing lines from freezing.
- Expansion Plugs: To block water from entering the plumbing.
- Pool Cover Pump: Removes excess water from the cover.

When to Start Prepping Your Pool for Winter
Begin winterizing your pool when the temperature consistently falls below 65°F (18°C). This threshold is crucial to prevent algae growth and ensure the process is completed before the first frost. In colder northern regions, start by early to mid-fall, while in warmer southern areas, late fall or early winter might be sufficient.
Pay attention to nighttime temperatures and use long-term weather forecasts to anticipate temperature drops. Proper timing helps avoid freeze damage and reduces algae proliferation, ensuring your pool is protected throughout the winter.

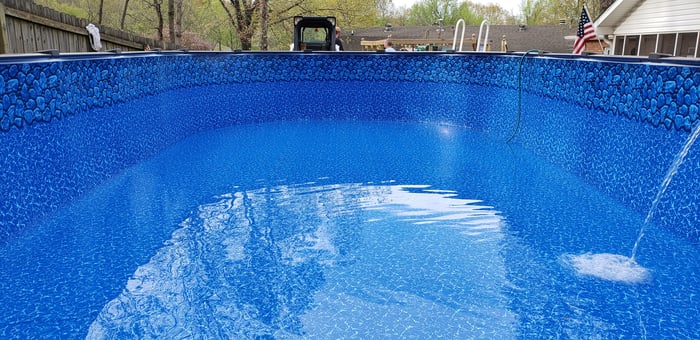
How To Winterize an Inground Pool
Winterizing your inground pool is essential to protect it from damage during the cold months. Follow these steps to ensure your pool is ready for winter:
- Balance the Water Chemistry:
- Adjust the pH, alkalinity, and calcium hardness to recommended levels. Aim for a pH between 7.2 and 7.6, alkalinity between 80 and 120 ppm, and calcium hardness between 180 and 220 ppm.
- Proper water balance prevents corrosion and scaling during the winter months.
- Clean the Pool:
- Thoroughly vacuum, brush, and skim the pool to remove all debris.
- This step is crucial to prevent staining and algae growth during the winter. Ensure that the pool is spotless to make spring opening easier.
- Add Winterizing Chemicals:
- Use a winterizing chemical kit to treat the water. This typically includes a chlorine shock, algaecide, and a chemical to prevent staining and scaling.
- Proper chemical treatment helps maintain water quality and prevents algae growth during the winter.
- Blow Out and Plug Lines:
- Use an air compressor to blow out water from the plumbing lines. This step is critical to prevent water from freezing and causing pipes to burst.
- After blowing out the lines, install expansion plugs to seal them and prevent water from re-entering.
- Cover the Pool:
- Secure a winter pool cover to keep debris out and protect the water. Choose a cover that fits your pool well and is designed for winter use.
- A properly secured cover will also prevent accidental falls and keep the pool clean until spring.
Additional Tips for Freeze Protection
- Install a Pool Heater: This can help prevent water from freezing, which is particularly useful in regions with severe winters.
- Monitor Pool Temperature: Keep an eye on the temperature to take timely actions if it drops too low.

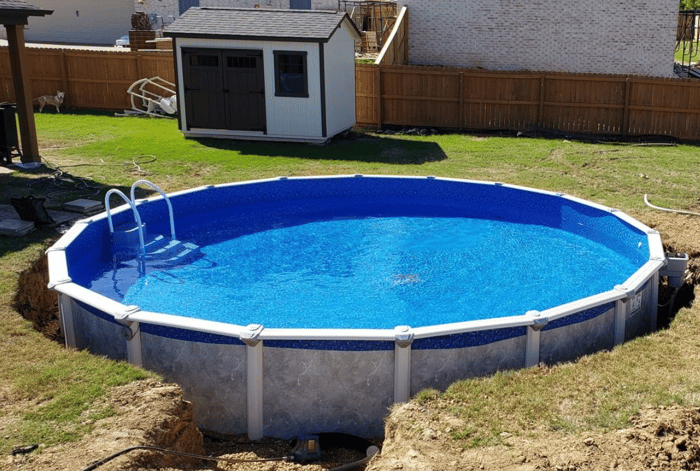
How To Winterize an Above Ground Pool
Winterizing your above ground pool is crucial to prevent damage during the winter months and ensure a smooth reopening in the spring. Follow these steps to protect your pool:
- Balance the Water Chemistry:
- Ensure the pH, alkalinity, and calcium hardness are at optimal levels.
- Aim for a pH of 7.2 to 7.6, alkalinity between 80 and 120 ppm, and calcium hardness between 180 and 220 ppm.
- Properly balanced water helps prevent corrosion and scaling during winter.
- Clean the Pool:
- Remove all debris by vacuuming, brushing, and skimming the pool. Thorough cleaning prevents staining and algae growth over the winter months.
- Make sure to clean the walls and floor thoroughly to maintain water clarity and hygiene.
- Add Winterizing Chemicals:
- Apply a winterizing chemical kit that typically includes a chlorine shock, algaecide, and a chemical to prevent staining and scaling.
- These chemicals help maintain water quality and prevent algae and bacteria growth throughout the winter.
- Install Air Pillows:
- Place air pillows in the center of the pool to absorb ice expansion.
- This helps protect the pool walls from the pressure of expanding ice, which can cause damage during freezing temperatures.
- Secure the Pool Cover:
- Use a winter cover and ensure it is tightly secured to prevent wind damage. A properly fitted cover keeps out debris and prevents accidental falls into the pool.
- Make sure the cover is tightly fastened and periodically check it throughout the winter to ensure it remains secure.
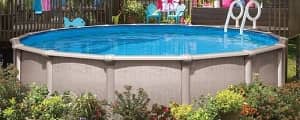
Additional Cover Information
- Solid covers: These prevent debris and sunlight from entering, thus inhibiting algae growth.
- Mesh covers: Allow water to pass through while keeping out larger debris. Ensure your cover is securely fastened to prevent wind damage.

How Much Does It Cost To Winterize A Pool?
| Expense | Inground Pools | Above-Ground Pools |
| Winter Pool Cover | $50 - $500 | $30 - $300 |
| Winterizing Chemical Kit | $20 - $100 | $20 - $80 |
| Cleaning Equipment | $15 - $100 | $10 - $75 |
| Air Pillows | $10 - $50 | $10 - $30 |
| Pool Antifreeze | $10 - $30 | $10 - $25 |
| Expansion Plugs | $5 - $20 each | $5 - $15 each |
| Pool Cover Pump | $30 - $150 | $25 - $100 |
| Professional Service | $200 - $500+ | $150 - $400+ |
DIY vs. Professional Services
DIY Winterization: The costs for DIY pool winterization for inground pools range from $150 to $300, depending on the supplies needed. For above-ground pools, it ranges from $100 to $200. This includes purchasing covers, chemical kits, and necessary equipment such as air pillows and antifreeze. For more tips on cutting costs, read our guide on how to save money on an inground swimming pool.
Professional Services: Hiring professionals to winterize your pool can cost between $150 and $400 for above-ground pools and $200 to $500 or more for inground pools. The price varies based on location, pool size, and the specific services required. Larger or more complex pools, such as those with spas or additional features, may incur higher costs.
If you’re considering a more hands-on approach to pool ownership, you might want to explore options to build your own swimming pool and save money.
Additional Winterizing Tips and Tricks
Enhance your pool’s winter protection with these additional tips and tricks to ensure it remains in top condition throughout the colder months:
- Use Pool Antifreeze: Pour antifreeze into the plumbing lines to prevent freezing and cracking. This step is especially important in regions with severe winters. Be sure to use pool-specific antifreeze, as automotive antifreeze can be toxic and harmful to the pool environment.
- Check the Pool Cover Regularly: Regularly inspect your pool cover and remove excess water and debris to maintain its integrity. Accumulated water can cause the cover to sag and potentially tear, while debris can encourage algae growth. Keeping the cover clean helps ensure it remains effective throughout the winter.
- Install a Pool Cover Pump: A pool cover pump helps remove standing water from the cover, preventing damage from heavy snow or rain accumulation. This is crucial for maintaining the cover's durability and preventing water from seeping into the pool.
- Use Enzyme Formulas: Natural enzyme formulas can help break down non-living organic contaminants, such as oils and lotions, that can cloud the water and create a breeding ground for bacteria. Adding enzyme treatments before closing the pool can keep the water cleaner and clearer during the off-season.
- Consider a Safety Cover: Safety covers provide additional security and durability compared to standard winter covers. They are designed to support weight, preventing accidents and offering better protection against debris. Investing in a safety cover can enhance your pool's overall safety and longevity.
For more information on keeping your pool safe during the cold season, check out our guide on swimming pool safety in the Winter.
How to Winterize a Pool - Frequently Asked Questions
- Is it necessary to use winterizing chemicals in my pool?
Yes, winterizing chemicals are essential to prevent algae growth and maintain water balance throughout the winter. - How can I winterize my pool with a sand filter?
After cleaning the filter, set it to the “winterize” setting if available, or follow the manufacturer's instructions for winter storage. - What is the winterize setting on a pool filter?
This setting, if available, helps to drain water from the filter and plumbing lines to prevent freezing. - How often should I check my pool during winter?
Check your pool cover and water level monthly to ensure everything is secure and there is no damage. - Can heavy snowfall damage my winterized pool?
Heavy snowfall can add weight to the pool cover. Regularly remove snow to prevent damage to the cover and pool structure.