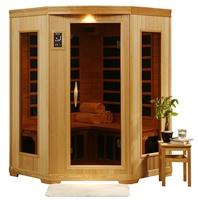
 Saunas are a luxury item that people have been enjoying for years and years thanks to their amazing health benefits.
However, over time you might need to replace the thermostat in your Heatwave sauna.
This is thankfully an easy item to switch out.
Below we have provided you with a guide on how to do that.
As always, refer to any product manuals or instruction guides that came with your sauna or replacement part first.
Steps to replace the thermostat in your Heatwave sauna:- Unplug all connections to the roof panel. Remove the roof from the sauna and and set it on its side.
- Looking at the roof from the finished side, mark a spot in between the 2 reading lights to drill the hole for the thermostat.
- Choose a drill bit that matches best the width of the thermostat tip, and drill a hole in the marked spot.
- Plug the end of the thermostat wire to the end of the thermostat connection that was fed through the power box.
- Feed the metal tip to the thermostat wire down the roof so that only the metal tip sticks down. In this step duct tape can be used on the top of the roof to hold the thermostat in place. You have now successfully installed the thermostat wire.
That's it! You should now be ready to start enjoying your sauna again. We hope that you found this guide helpful. If you have any further questions, reach out to your supplier or contact us for technical support.
Can't get enough resources? Here's some additional articles we think you may be interesting in!
- Infrared Heaters for HeatWave Saunas Ceramic vs. Carbon
- How To Change The Circuit Board For A Heatwave Sauna
- HeatWave Sauna EMF Test Results vs. Industry Standards
- Infrared Sauna FAQs
- Health Benefits of Saunas
- New Cedar Heatwave Saunas by Blue Wave
- Health Benefits of Owning a Sauna


