
Can Pool Liners Be Repaired?
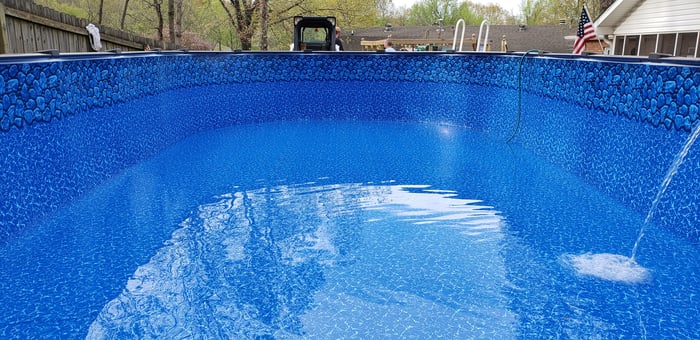
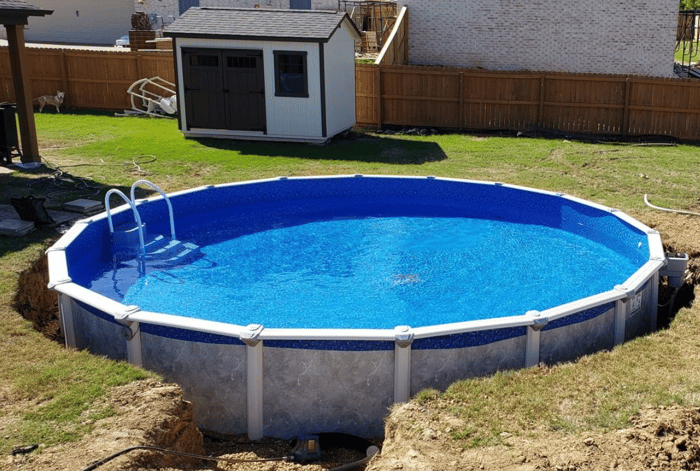
Whether installed in above-ground or in-ground pools, vinyl pool liners are built to withstand constant exposure to sun, fluctuating temperatures, chemical treatments, and physical wear. Over time, though, even the most well-maintained liner can develop issues: pinholes, tears, seam separations, or wrinkles that signal stress and aging.
That leads to the central question: should you repair the liner, or is it time to replace it?
Here’s the short answer, with more detail to follow throughout this guide:
- Most Liners Can Be Repaired: The outcome depends on the size, age, and location of the damage.
- DIY Solutions Work for Minor Problems: Small punctures and short tears can usually be handled with a patch kit. Larger tears, seam issues, or hard-to-find leaks are better left to professionals.
- Timely Repairs Extend Lifespan: Quick action can buy extra seasons and delay full replacement.

Understanding Pool Liners and Common Causes of Damage
Vinyl liners are the most common interior surface used in residential pools, especially in regions where installation and material costs make them a practical choice. They’re favored for their affordability, smooth texture, and variety of patterns. How long they last depends heavily on pool type, usage, and maintenance habits.
- In-ground pools: Typically last 8–12 years with consistent care.
- Above-ground pools: Generally last 6–10 years, and sometimes longer in moderate climates with proper upkeep.
Common causes of liner damage include:
- UV Exposure: Prolonged sunlight breaks down plasticizers in the vinyl, making it brittle and more susceptible to cracks and surface chalking.
- Chemical Imbalance: Low pH or repeated overuse of chlorine can weaken the vinyl structure, leading to hardening, swelling, or fading.
- Sharp Objects & Abrasion: Rough toys, tools, or debris can puncture or scuff the surface, especially in high-traffic areas.
- Ground Movement & Hydrostatic Pressure: Shifts from freeze-thaw cycles, groundwater buildup, or settling soil can wrinkle or dislodge the liner, creating stress points that may tear.


Can Pool Liners Be Repaired?
Minor liner damage can often be repaired successfully, particularly when the vinyl is still flexible and the problem is confined to one area. The key factors are where the damage occurs (flat wall, corner, or fitting), and how old or brittle the liner has become.
When to Repair Pool Liners
- Small Tears or Punctures (Under 3 Inches): Typically repairable using a clear or color-matched vinyl pool liner patch kit.
- Localized Leaks Around Fittings: Minor leaks near return jets, skimmers, or lights can often be sealed with an underwater vinyl patch and adhesive.
- Wrinkles or Minor Stretching: Shallow wrinkles may be smoothed out with gentle heat and manipulation, though recurring wrinkles usually signal water chemistry or groundwater problems.
- Newer Liner, Isolated Damage: A single, well-applied patch on a young, flexible liner can last for years without further issues.
When to Replace Pool Liners
- Large Tears: Long rips or tears rarely hold a patch for long.
- Seam Separations: All USA liner manufacturers liner warranties cover a seam separation— where the seam is coming apart. If your liner is still under warranty, we recommend you contact your liner's manufacturer to submit a warranty claim. If you need guidance, give us a call or create a support ticket and we will be glad to assist.
- Brittle, Cracked, or Chalky Vinyl: UV exposure hardens and weakens old vinyl, preventing adhesives from bonding effectively.
- Multiple Leaks Throughout the Pool: Frequent patching indicates the material is breaking down across the surface.
- Severe Fading or Pattern Loss: Often a visual cue that the liner’s structure is deteriorating.
- Older Liners (10+ Years): Repairs may buy a short reprieve, but replacement becomes the more reliable and cost-effective solution.

Can You Repair a Pool Liner Yourself?
For many small issues, yes. The key is identifying the leak, prepping the surface, and using an adhesive designed for vinyl—and for underwater use if the pool is full. When in doubt, we can help you choose the right kit and walk you through the steps.
DIY Repair
- Use The Right Kit: Choose a vinyl pool liner patch kit built for your liner (above-ground vs. in-ground) and confirm “underwater use” if you won’t drain below the damage.
- Follow Directions Exactly: Adhesives have specific open times and cure times. Cutting corners reduces bond strength.
- Clean Thoroughly: Oils, algae, or fine grit under a patch will cause early failure.
- Trim Smart: Round the corners of each patch and overlap the damaged area by at least 2 inches on all sides.
- Test & Monitor: After curing, watch the waterline over a few days. If you are still losing water, recheck for a second leak.
Pro Tip: Warm conditions (roughly mid-70s to mid-80s °F) improve vinyl flexibility and adhesive bonding. If it’s chilly, gently warming the area and avoiding direct heat on the vinyl can help with application.
When to Call a Professional
- Deep Wrinkles or Liner Slippage at the Track: Re-seating a liner and vacuuming it back to the walls/floor is a pro job.
- Damage Near Main Drains, Skimmers, or Returns: Fittings concentrate stress and can leak behind the liner.
- Suspected Hidden Leaks: Damp spots around the pool, persistent water loss, or leaks under steps call for professional leak detection equipment.
How to Repair a Pool Liner (Step-by-Step)
Preparation
Pinpoint the Leak:
- Dye or Food Coloring Test: With the pump off, release a small amount of dye near the suspected leak. If there’s a hole, the dye will be drawn directly to it.
- Focus on High-Risk Areas: Check around returns, lights, skimmers, corners, steps, and seams as these are the most common leak zones.
Clean the Area:
- Remove Slime and Scale: Wipe gently with a soft cloth to clear away any dirt or biofilm. Avoid abrasive tools that can worsen the damage.
- Ensure a Smooth Surface: Any grit left behind will interfere with adhesion, so the liner must be clean and smooth before patching.
Dry Repair (Above Waterline or When Water Is Below The Damage)
- Cut the Patch: Use scissors to round the corners and size the patch at least 2 inches larger than the tear in all directions.
- Apply Adhesive: Follow the patch kit instructions. Most require a thin, even coat on both the patch and the liner, then a short wait until tacky.
- Apply and Smooth: Press the patch over the tear, starting from the center and working outward to eliminate bubbles.
- Let It Cure: Allow the adhesive to set fully before refilling or disturbing the area. Curing times vary, but many reach full bond strength within 24 hours.
Underwater Repair (Pool In Use or Filled)
- Use an Underwater-Approved Kit: Select a vinyl patch and adhesive specifically designed to bond underwater.
- Prep the Patch in Advance: Above water, cut and round the patch. Apply adhesive according to the instructions.
- Apply Underwater: Fold the patch with the glue side in, dive to the leak, unfold it over the tear, and press firmly from the center outward.
- Secure and Smooth: Hold in place for a few moments, then smooth out any edges to ensure full contact.
- Let It Set: Avoid brushing or disturbing the area until the adhesive has cured—typically 24 to 72 hours, depending on the product.
Recommended Products for Pool Liner Repair
- Vinyl Liner Patch Kits: Available in clear or blue, in various sizes for patching small punctures and tears.
- Underwater Repair Adhesives: Specialized vinyl glues that work below the waterline without draining the pool.
- Leak Detection Kits: Dye testers help identify small or slow leaks before committing to a patch.
- Vinyl Cleaner & Conditioner: Non-abrasive products that clean and protect the liner surface from UV and chemical wear.
Important: Never drain an in-ground vinyl pool without expert advice. Rapid pressure changes can cause the liner to shift or float, risking structural damage.

Lifespan of Pool Liners & How to Extend It
Typical Lifespans:
| Pool Type | Expected Lifespan |
| Above-Ground | 6-10 Years |
| In-Ground | 8-12 Years |
| Premium 30+ mil Liners | 15+ Years with proper maintenance |
Note: actual longevity varies with climate, chemistry, and care. What determines whether you reach the top of the range? Clean water balance, sensible sun management (covers), and fixing small issues before they become big ones.
Maintenance Tips to Extend the Life of Your Pool Liner:
- Keep Water Chemistry in Balance:
- pH: 7.2–7.6
- Total Alkalinity: 80–120 ppm
- Free Chlorine: Match sanitizer levels to cyanuric acid and avoid repeated over-shocking.
- Calcium Hardness: Maintain levels, typically 150–250 ppm, to prevent soft water from becoming corrosive. This protects metal components like ladders, handrails, and heat exchanger parts from damage.
- Use a Pool Cover: Shields the liner from UV damage and prevents debris buildup that can cause surface wear.
- Clean with Vinyl-Safe Tools: Use soft cloths or gentle brushes. Avoid solvents, scouring pads, or melamine sponges that can degrade printed surfaces.
- Check for Sharp Edges: File down or replace rough ladder feet, rails, or hardware. Choose toys and accessories that are liner-safe.
- Repair Small Leaks Early: Minor punctures can expand quickly under pressure. Apply a vinyl patch as soon as a leak is found.
- Winterize Properly: Balance the water before closing and maintain the correct water level and cover position to reduce freeze-related damage.
- Monitor for Wrinkles: Persistent wrinkles may point to chemical imbalances or shifting ground. Address root causes early to prevent vinyl stress or tearing.